Appearance
Fresh
What is a registry?
Back
What is a registry?
Copy as Markdown
Open MarkdownAsk Docs AIClaudeOpen in Claude
Table of contents
Docker concepts - What is a registry? - YouTube
Tap to unmute
Docker concepts - What is a registry? Docker

Docker115K subscribers
Explanation
Now that you know what a container image is and how it works, you might wonder - where do you store these images?
Well, you can store your container images on your computer system, but what if you want to share them with your friends or use them on another machine? That's where the image registry comes in.
An image registry is a centralized location for storing and sharing your container images. It can be either public or private. Docker Hub is a public registry that anyone can use and is the default registry.
While Docker Hub is a popular option, there are many other available container registries available today, including Amazon Elastic Container Registry (ECR), Azure Container Registry (ACR), and Google Container Registry (GCR). You can even run your private registry on your local system or inside your organization. For example, Harbor, JFrog Artifactory, GitLab Container registry etc.
Registry vs. repository
While you're working with registries, you might hear the terms registry and repository as if they're interchangeable. Even though they're related, they're not quite the same thing.
A registry is a centralized location that stores and manages container images, whereas a repository is a collection of related container images within a registry. Think of it as a folder where you organize your images based on projects. Each repository contains one or more container images.
The following diagram shows the relationship between a registry, repositories, and images.
IIIIImmmmmaaaaagggggeeeeeR::R:::eeRpppppppeorrorrrgsoosoooiijjijjjsteeteeetoccocccrrttrtttyy--y---aabbbA::B:::vvvvv12112.....00010
Tip
A Docker Personal plan gives you one private repository and unlimited public repositories. To get unlimited private repositories, upgrade to the Docker Team plan.
Try it out
In this hands-on, you will learn how to build and push a Docker image to the Docker Hub repository.
Sign up for a free Docker account
- If you haven't created one yet, head over to the Docker Hub page to sign up for a new Docker account. Be sure to finish the verification steps sent to your email.
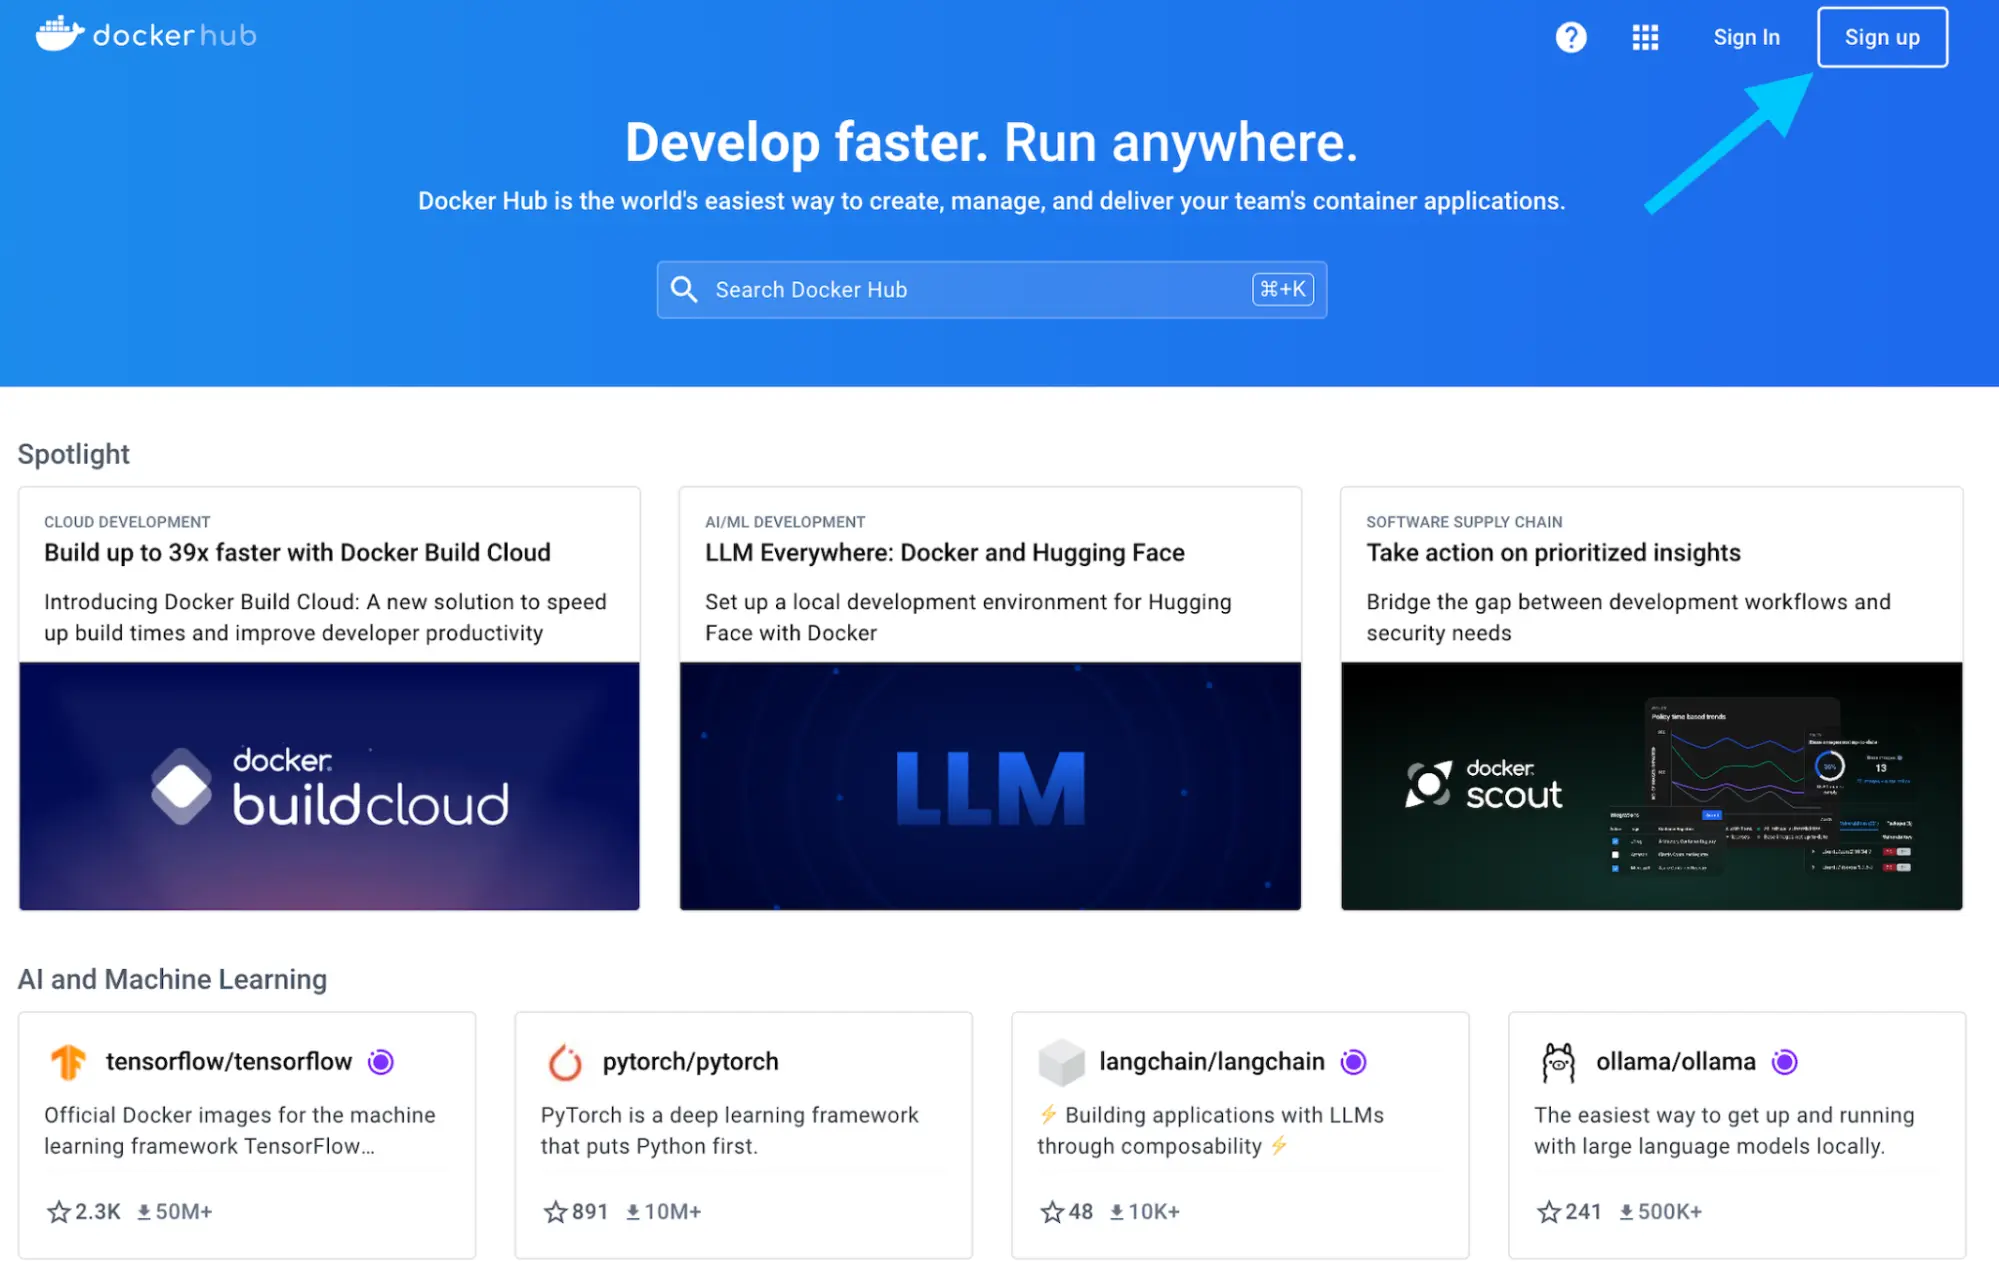
You can use your Google or GitHub account to authenticate.
Create your first repository
Sign in to Docker Hub.
Select the Create repository button in the top-right corner.
Select your namespace (most likely your username) and enter
docker-quickstartas the repository name.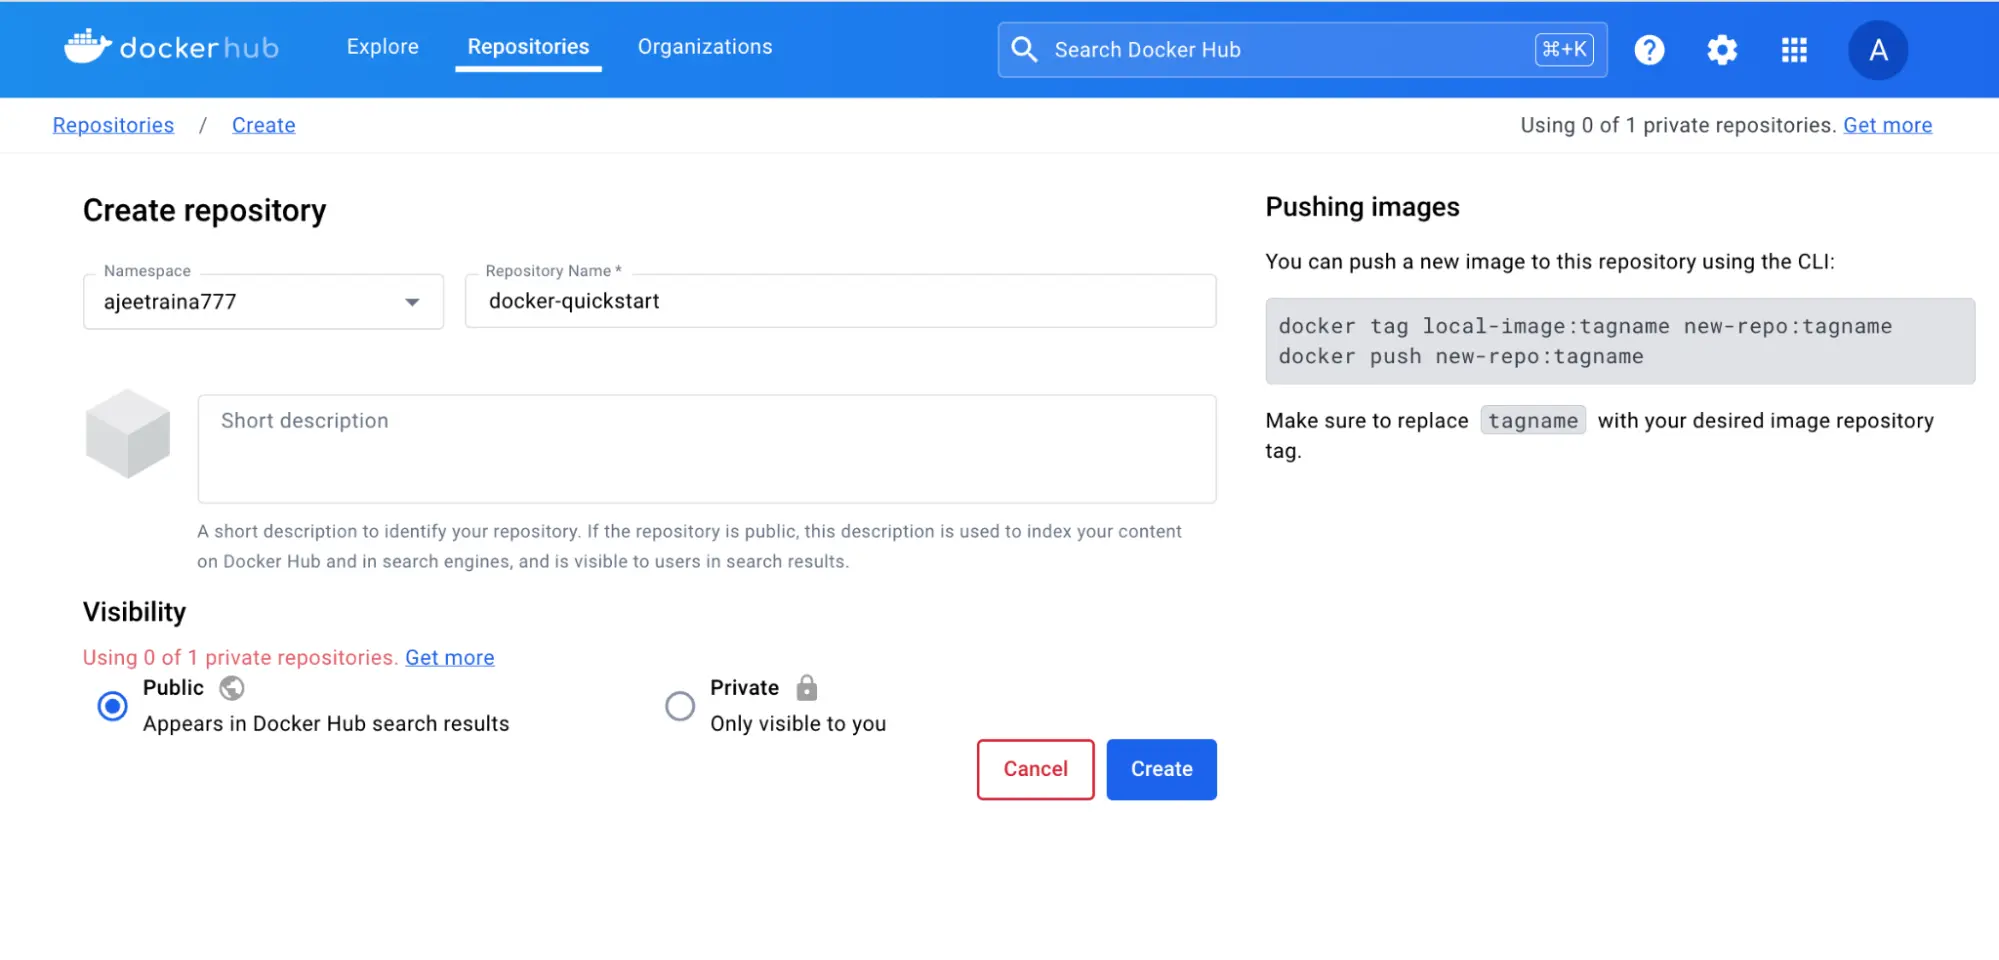
Set the visibility to Public.
Select the Create button to create the repository.
That's it. You've successfully created your first repository. 🎉
This repository is empty right now. You'll now fix this by pushing an image to it.
Sign in with Docker Desktop
- Download and install Docker Desktop, if not already installed.
- In the Docker Desktop GUI, select the Sign in button in the top-right corner
Clone sample Node.js code
In order to create an image, you first need a project. To get you started quickly, you'll use a sample Node.js project found at github.com/dockersamples/helloworld-demo-node. This repository contains a pre-built Dockerfile necessary for building a Docker image.
Don't worry about the specifics of the Dockerfile, as you'll learn about that in later sections.
- Clone the GitHub repository using the following command:
console
git clone https://github.com/dockersamples/helloworld-demo-node- Navigate into the newly created directory.
console
cd helloworld-demo-node- Run the following command to build a Docker image, swapping out
YOUR_DOCKER_USERNAMEwith your username.
console
docker build -t YOUR_DOCKER_USERNAME/docker-quickstart .Note
Make sure you include the dot (.) at the end of the
docker buildcommand. This tells Docker where to find the Dockerfile.
- Run the following command to list the newly created Docker image:
console
docker imagesYou will see output like the following:
console
REPOSITORY                                 TAG       IMAGE ID       CREATED         SIZE
YOUR_DOCKER_USERNAME/docker-quickstart latest 476de364f70e 2 minutes ago 170MB- Start a container to test the image by running the following command (swap out the username with your own username):
console
docker run -d -p 8080:8080 YOUR_DOCKER_USERNAME/docker-quickstartYou can verify if the container is working by visiting http://localhost:8080 with your browser.
- Use the
docker tagcommand to tag the Docker image. Docker tags allow you to label and version your images.
console
docker tag YOUR_DOCKER_USERNAME/docker-quickstart YOUR_DOCKER_USERNAME/docker-quickstart:1.0- Finally, it's time to push the newly built image to your Docker Hub repository by using the
docker pushcommand:
console
docker push YOUR_DOCKER_USERNAME/docker-quickstart:1.0- Open Docker Hub and navigate to your repository. Navigate to the Tags section and see your newly pushed image.
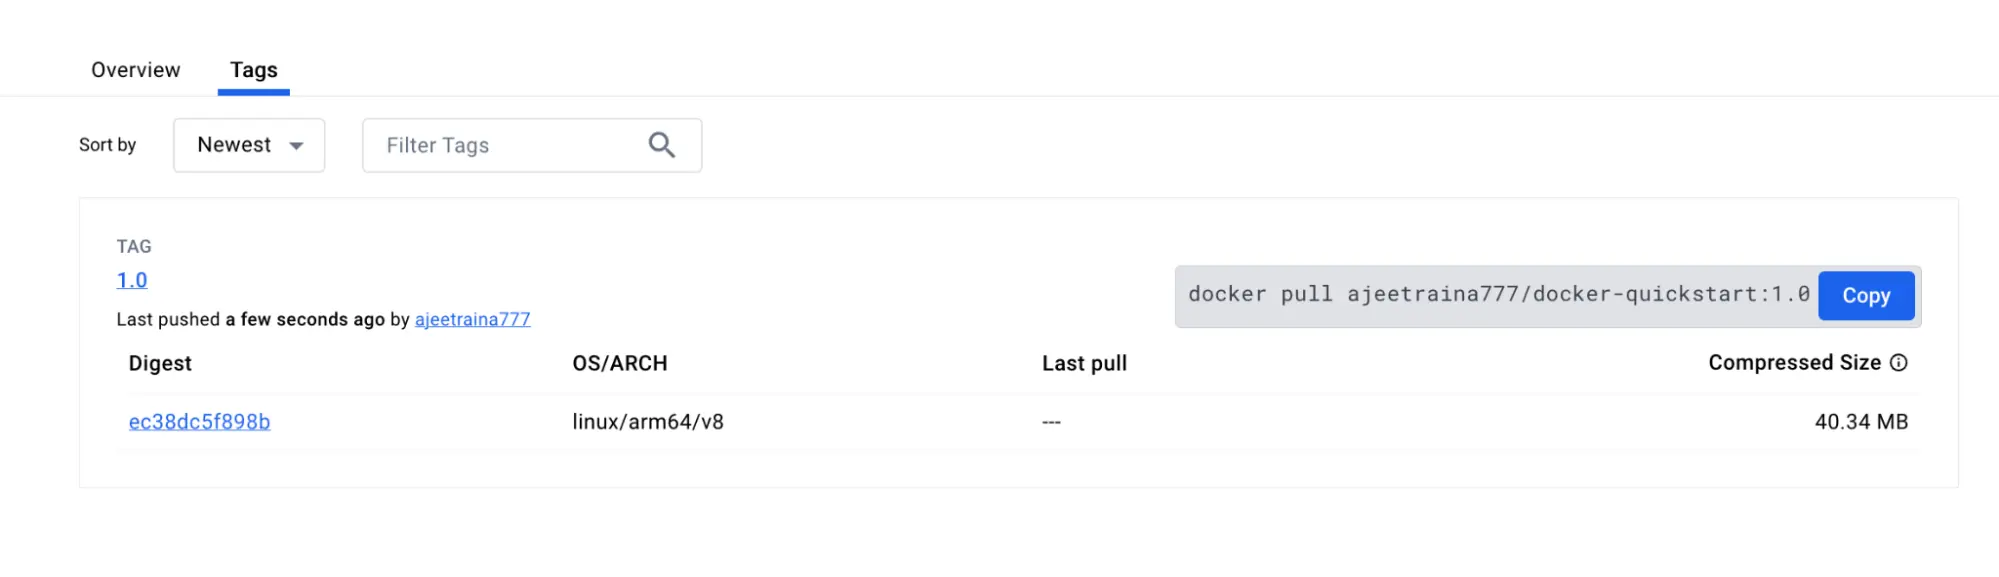
In this walkthrough, you signed up for a Docker account, created your first Docker Hub repository, and built, tagged, and pushed a container image to your Docker Hub repository.
Additional resources
Next steps
Now that you understand the basics of containers and images, you're ready to learn about Docker Compose.